AnswerDock supports connecting and loading Google Analytics Data through their API.
Below are the steps needed to connect to Google Analytics:
1- Go to My Datasets page by clicking on the link in the header. Then click “+Add New Dataset”.

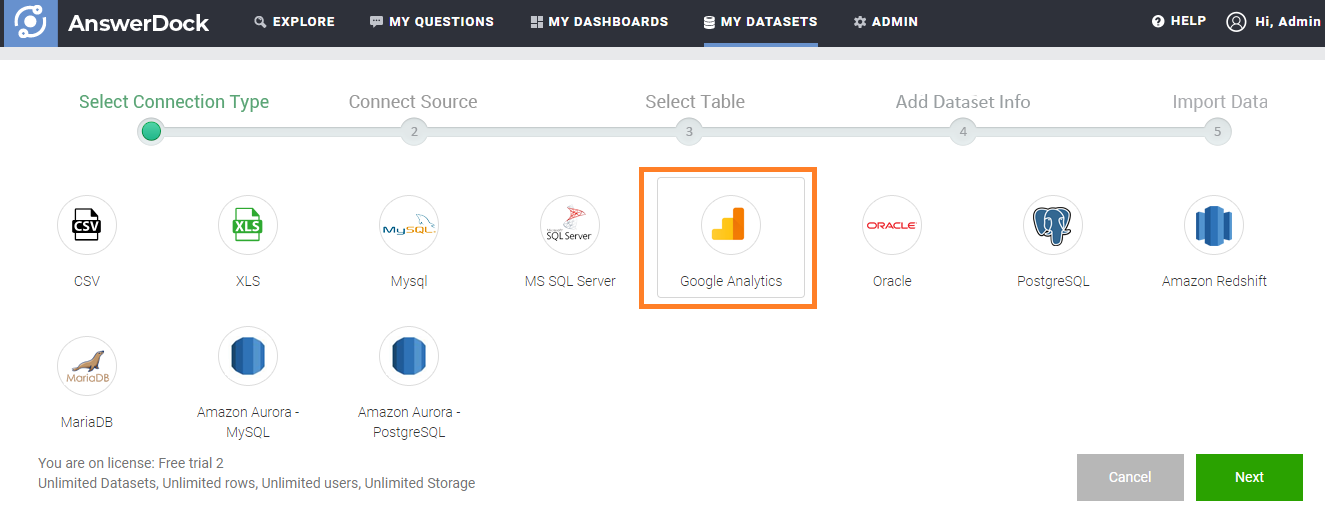
2- Select Google Analytics
3- Login to your Google Analytics account
4- Choose the Account Name, property and view relating to your google analytics account, to which you would like to connect.
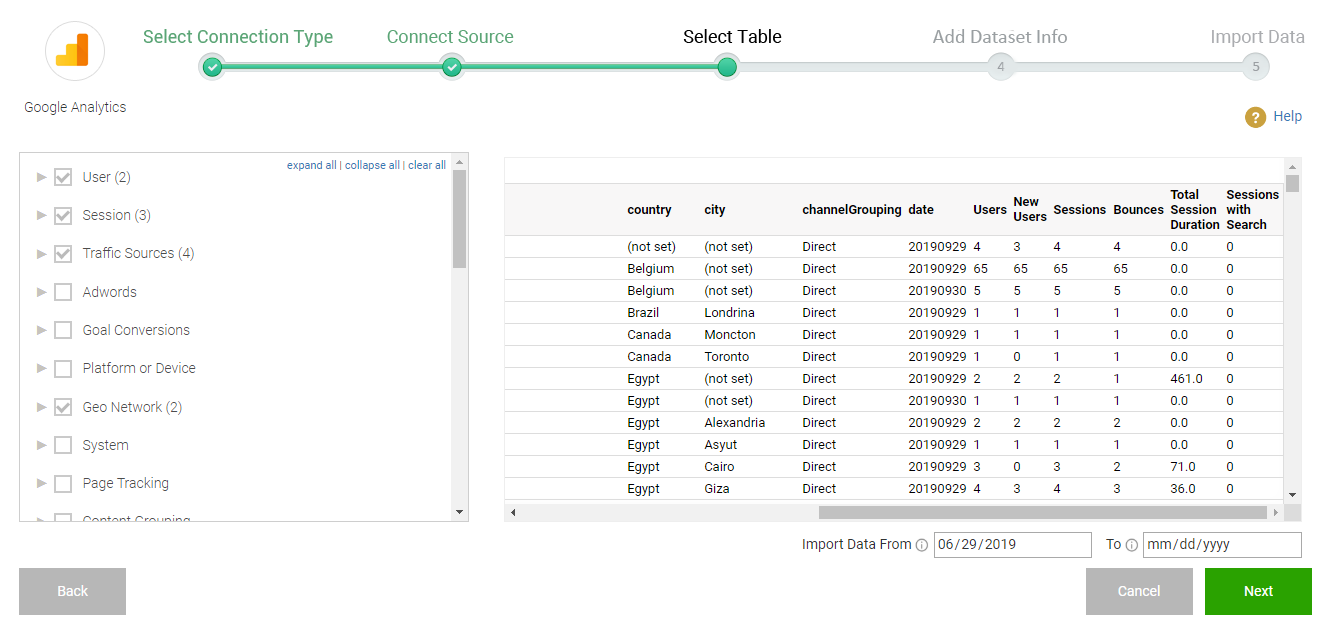
5- On the next page, AnswerDock will list all the available google analytics metrics and dimensions. By default, some metrics and dimensions are pre-selected. You can add/ remove any and see a preview of the data on the right side. Note that Google Analytics API does not allow certain combinations of metrics and dimensions, and you will see an error message if that was the case.
Note: Some ratio metrics (e.g. bounce rate) are aggregated to the level of specified dimensions, and will show incorrect results if they are calculated later on different level of dimensions. For example, if you pull the date of bounce rate per channel/country, and then while exploring the data, you type “Bounce Rate by Channel”, the bounce rate, given its a ratio, will not be give the correct results (it cannot be aggregated to different levels dynamically). In this case, its better to pull from google analytics the sessions and the bounces separately, and then create a calculated field or a formula that has Sum(Sessions)/ Sum(Bounces). This way you will be able to use this new metric on different levels, as its calculated on the fly, and not pre-calculated as in the former case.
6- Choose the start and end dates for the data to be loaded into AnswerDock. Note that you can keep the end date empty, and in this case AnswerDock will keep on loading new data periodically based on your set schedule in the next step
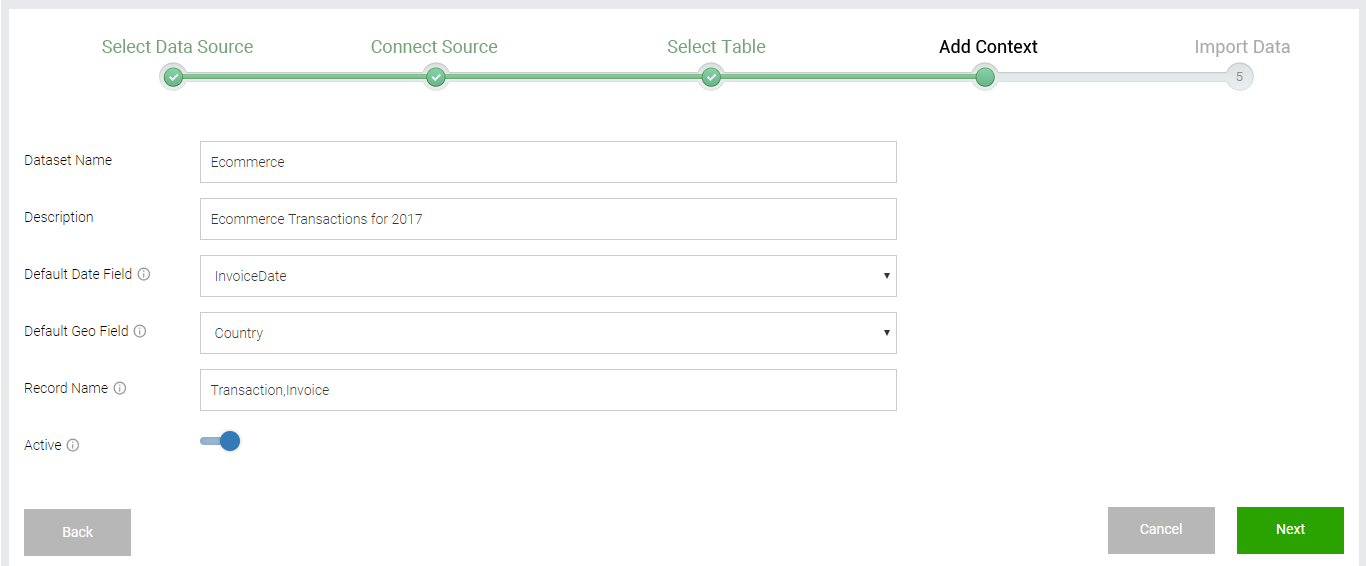
7- Edit the dataset name, description, default date field, default geo fields, records name and dataset status. Explanation of these properties is in a dedicated section of the documentation: Managing Dataset Properties. Once you are done with the properties, click Next to go to the dataset schedule page.
8- Edit the dataset schedule details. Explanation of setting up a schedule is detailed in a dedicated section of the documentation: Managing Data Load Schedules.
9- Once you are done with the schedule details, click Import.
10- You will be redirected to the datasets list page. Your dataset will start loading based on the schedule details you specified.