AnswerDock support connections to multiple relational database types. Connecting to a database requires a username and password with a read permission to the source table in the database. Below are the steps needed to connect to a relational database:
1- Go to My Datasets page by clicking on the link in the header. Then click “+Add New Dataset”.

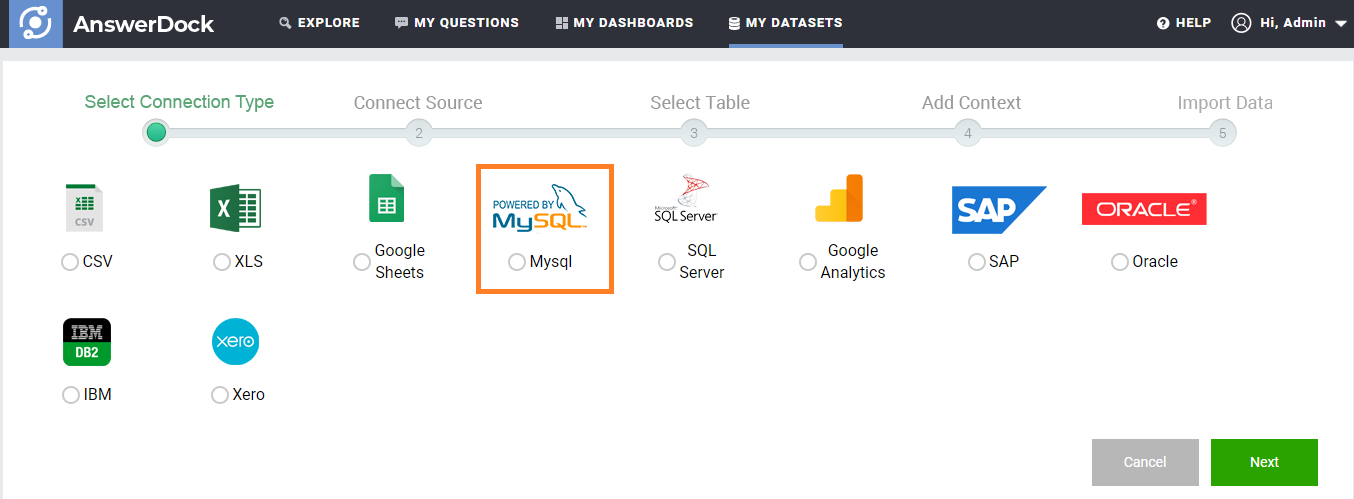
2- Select any relational DB source, such as Mysql or SQL Server
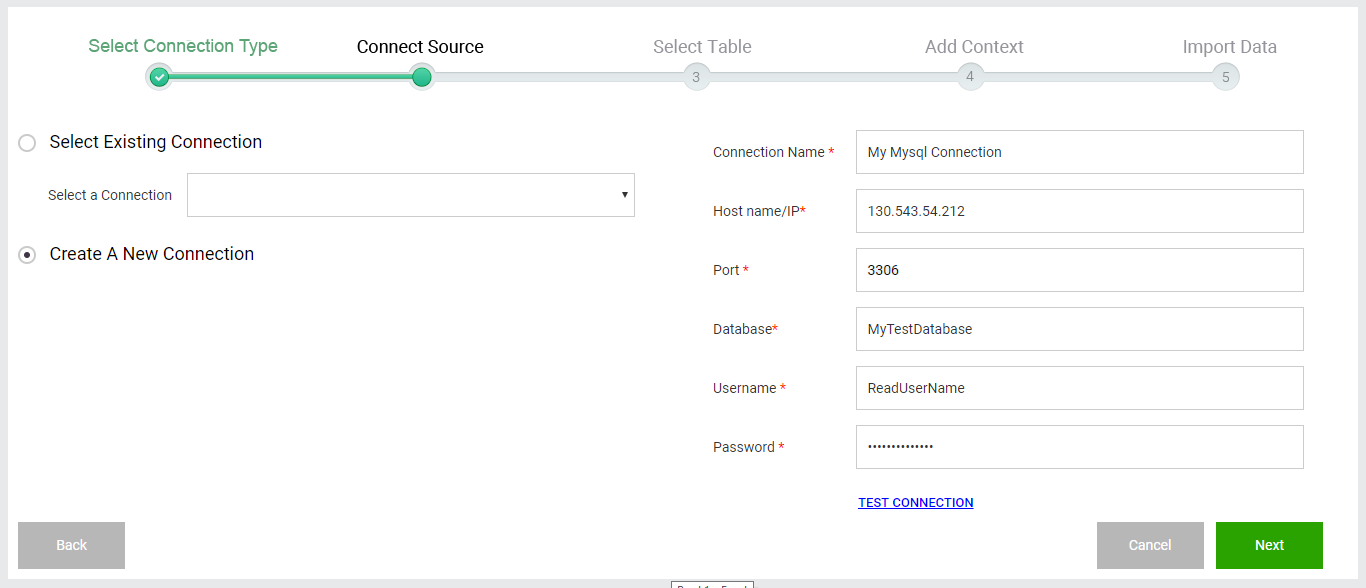
3- On the connection page you will have the following options:
| Setting | Explanation |
|---|---|
| Select Existing Connection | If you have already defined the connection details in a previous dataset, select the connection from the list.The details of the connection will be loaded to the right side of the page. Any changes on the connection details will be saved to the selected existing connection. |
| Create A New Connection | Select this to create a new connection. |
| Connection Name | Enter the connection name. |
| Host Name/ IP | Enter the host server url or ip address. |
| Port | Enter the Port number to access your DB. |
| Database | Enter the Database name. |
| User Name | Enter the User Name with at least read permission to the table you would like to connect to. |
| Password | Enter the Password. This will be encrypted and saved to be used for future data loads. |
4- After filling in the connection details, click test connection to validate the connection settings. Once validated, you can click next.
5- Select the table you would like to connect to. Note that you can only select one table for each import.
6- Under the table, select the columns you would like to import. Note that primary key fields are mandatory as they are used for incremental data loads later.
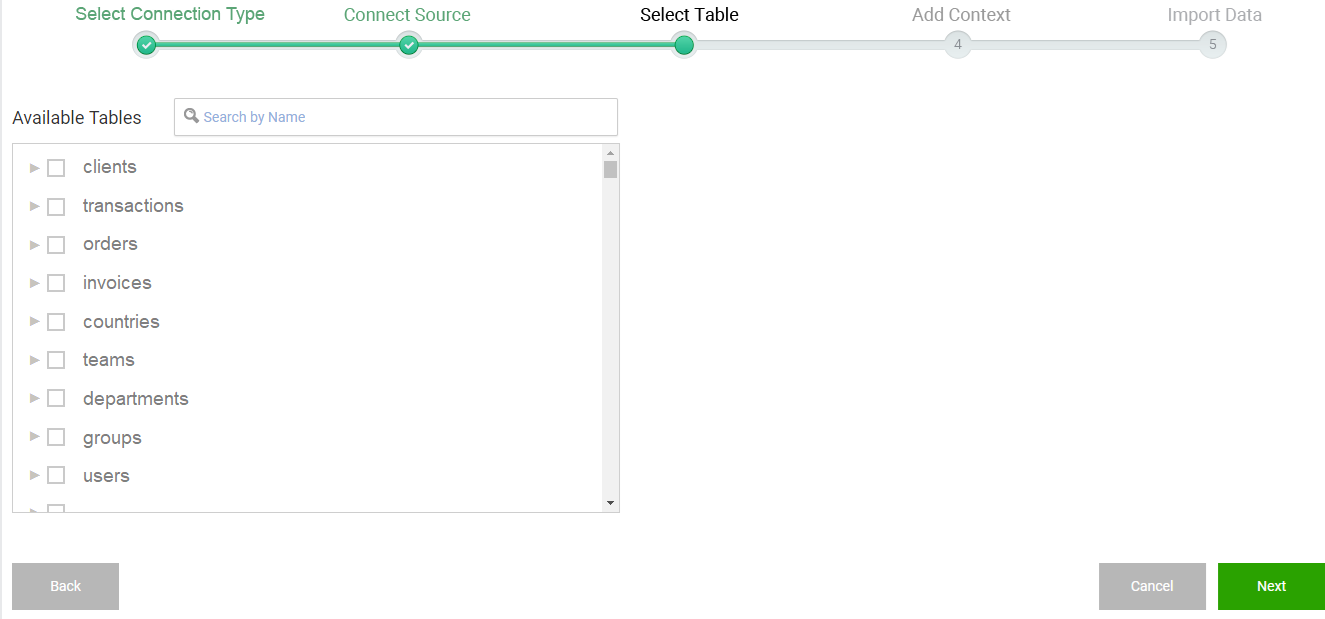
7- Click next to go to the dataset properties page below.
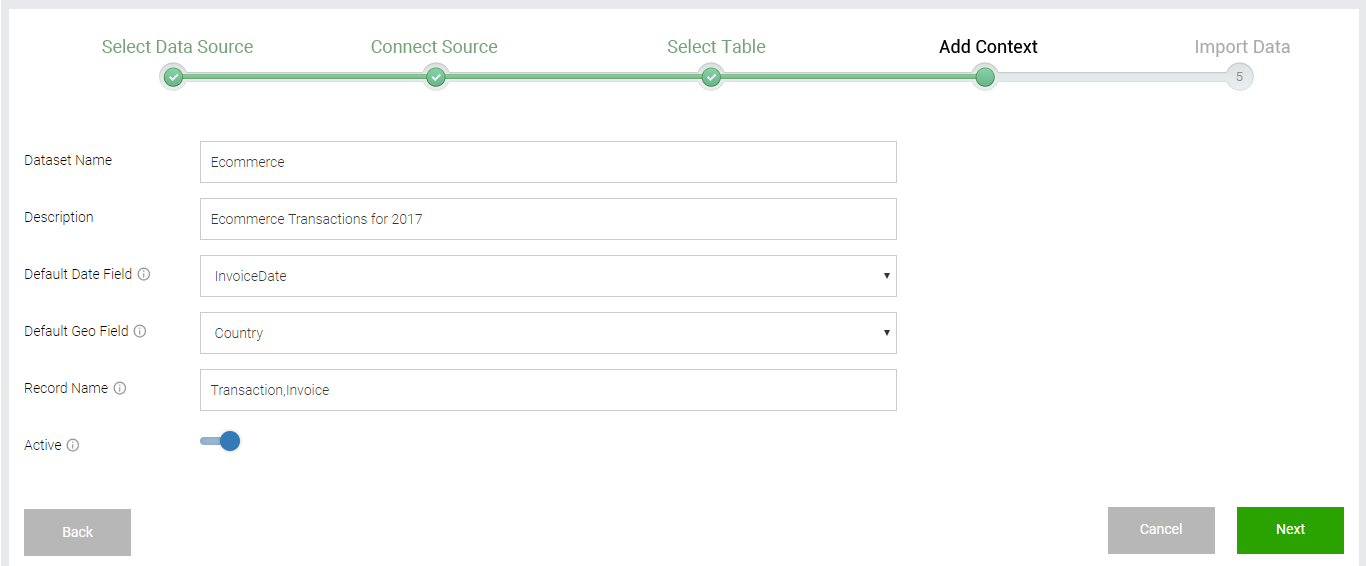
8- Edit the dataset name, description, default date field, default geo fields, records name and dataset status. Explanation of these properties is in a dedicated section of the documentation: Managing Dataset Properties. Once you are done with the properties, click Next to go to the dataset schedule page.

9- Edit the dataset schedule details. Explanation of setting up a schedule is detailed in a dedicated section of the documentation: Managing Data Load Schedules.
10- Once you are done with the schedule details, click Import.
11- You will be redirected to the datasets list page. Your dataset will start loading based on the schedule details you specified.